Hey there, DIY enthusiasts! Ready to embark on a kitchen adventure? Today, we’re diving into the exciting world of building your own kitchen island. Why buy when you can DIY, right? Trust me, it’s not rocket science – just a pinch of creativity, a dash of elbow grease, and a dollop of patience. So, roll up your sleeves, grab your tools, and let’s cook up the perfect kitchen island!
The Vision: Dream It Up
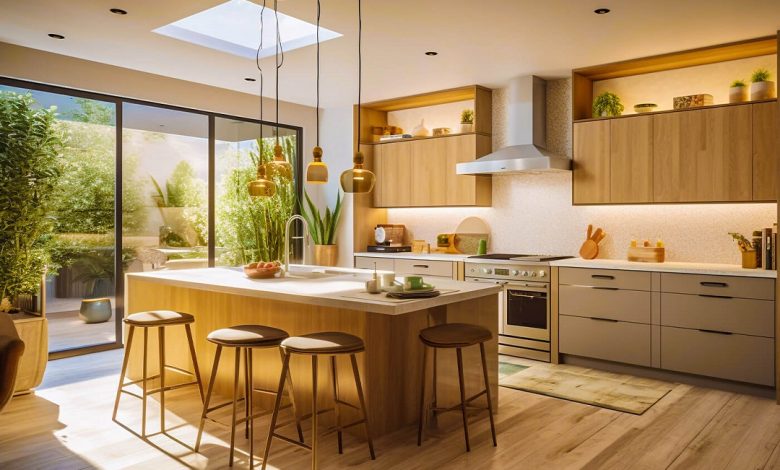
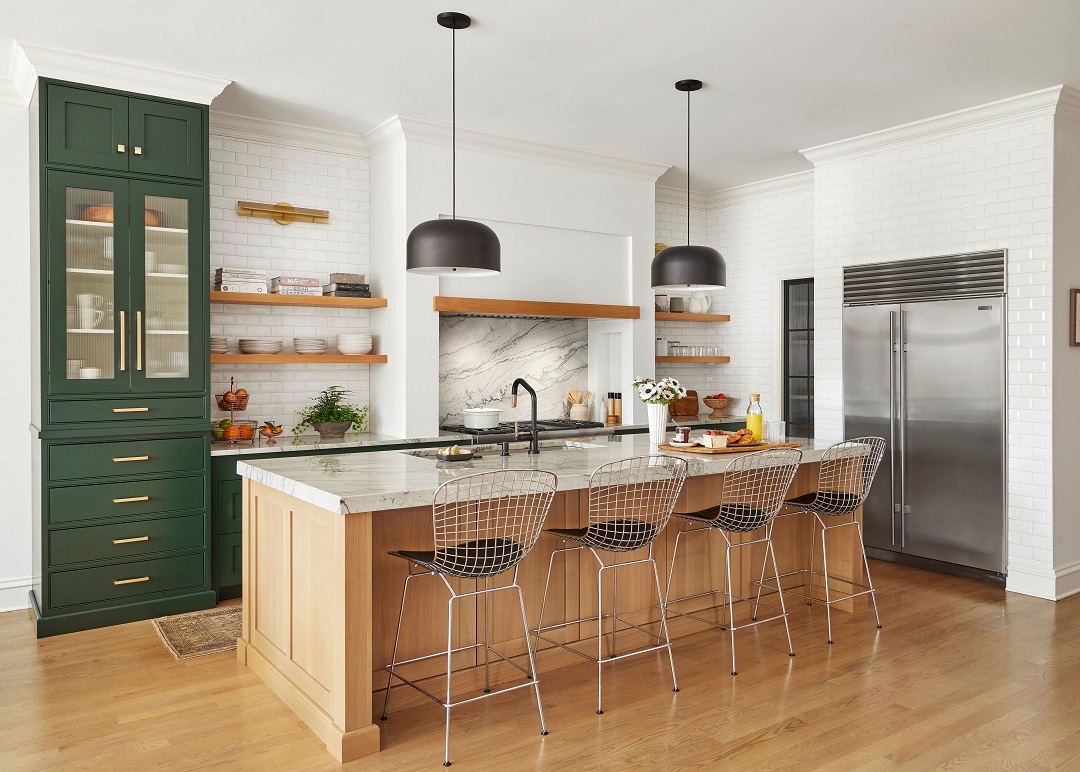
First things first, envision what you want. Is it a rustic farmhouse vibe or a sleek modern look? Pinterest and Instagram are your best friends here – scroll, save, and soak up the inspiration. Consider the size, shape, and functionality. Is it a prep station, a breakfast nook, or both? Your kitchen island is like the superhero of your culinary haven – versatile, functional, and, of course, stylish.
The Blueprint: Plot Your Course
Now, let’s get down to the nitty-gritty. Start with a solid plan – a blueprint for your kitchen island adventure. Measure your kitchen space, decide on the dimensions, and draft a rough sketch. Think about the materials you’ll need. Wood? Concrete? A magical blend of both? Don’t forget about storage options – drawers, shelves, or a combo of both.
The Hunt: Gather Your Supplies
Time to play detective! Head to your local hardware store like a DIY Sherlock Holmes. You’ll need wood (or your material of choice), screws, a saw, sandpaper, a drill, and maybe a level if you’re feeling fancy. Pro tip: make a list – wandering aimlessly in the aisles won’t help anyone.
The Base: It’s All About Support
Every superhero needs a strong foundation, right? Your kitchen island is no different. Build a sturdy base – the backbone of your masterpiece. Think about the legs; four for stability or maybe go wild with six for an extra flair. It’s like choosing the right shoes for your outfit – they need to look good and provide solid support.
The Countertop: Where the Magic Happens
Now, let’s talk about the showstopper – the countertop. This is where the culinary magic unfolds. Wood, granite, quartz – the choices are endless. Go for what fits your style and budget. Sand it down until it’s smoother than a jazz melody. Remember, the countertop is where you’ll chop veggies, knead dough, and maybe spill a little wine – make it resilient!
The Assembly: Put It All Together
It’s puzzle time! Assemble your kitchen island like you’re putting together a giant LEGO set for adults. Follow your blueprint, secure those screws, and make sure everything aligns perfectly. It’s a bit like building a relationship – patience and attention to detail go a long way.
The Finish: Make It Shine
Your kitchen island is almost ready for its grand entrance. Sand down any rough edges, apply a finish that suits your style – whether it’s a rustic stain, a sleek varnish, or a funky paint job. This is the makeup for your island; make it pop!
The Personal Touch: Customize It
What’s a superhero without a cape? Add your personal touch – maybe some hooks for utensils, a wine rack, or even a built-in spice rack. This is where your creativity can run wild. Your kitchen island should scream “you.”
The Celebration: Unveil Your Creation
Drumroll, please! It’s time to unveil your masterpiece. Move your DIY kitchen island into place and step back to admire your handiwork. Cue the applause! You’ve just added a slice of your personality to your kitchen.
So, there you have it – a crash course in building your own kitchen island. It’s a bit like baking a cake – follow the recipe, add your special ingredients, and voila! Now, let’s dive into some FAQs because, let’s face it, even superheroes have questions.
FAQs: Unveiling the Mysteries of DIY Kitchen Islands
Q1: Can I build a kitchen island if I’m not a carpenter?
Absolutely! DIY doesn’t discriminate. If you can handle basic tools and follow instructions, you’re good to go. Start small, and soon you’ll be the superhero of your kitchen.
Q2: How much will it cost to build a kitchen island?
The cost varies based on materials and your design. You can keep it budget-friendly with plywood and a basic finish, or go high-end with hardwood and a polished stone top. It’s all about your vision.
Q3: Do I need fancy tools to build a kitchen island?
Not really. A saw, drill, and some sandpaper are your main superheroes here. You can even rent tools if you’re not ready to commit to a long-term relationship.
Q4: Can I move my kitchen island around?
If you’re into rearranging furniture like a Feng Shui master, go for it! Keep in mind the weight and size, and make sure it’s still functional in its new spot.
Q5: Any tips for adding a pop of color to my kitchen island?
Absolutely! Think about your kitchen’s color scheme and add a complementary or contrasting color. It could be a fun way to tie everything together or make your island a bold statement piece.
And there you have it – your guide to crafting a kitchen island that reflects your style, meets your needs, and doesn’t break the bank. Happy DIYing!