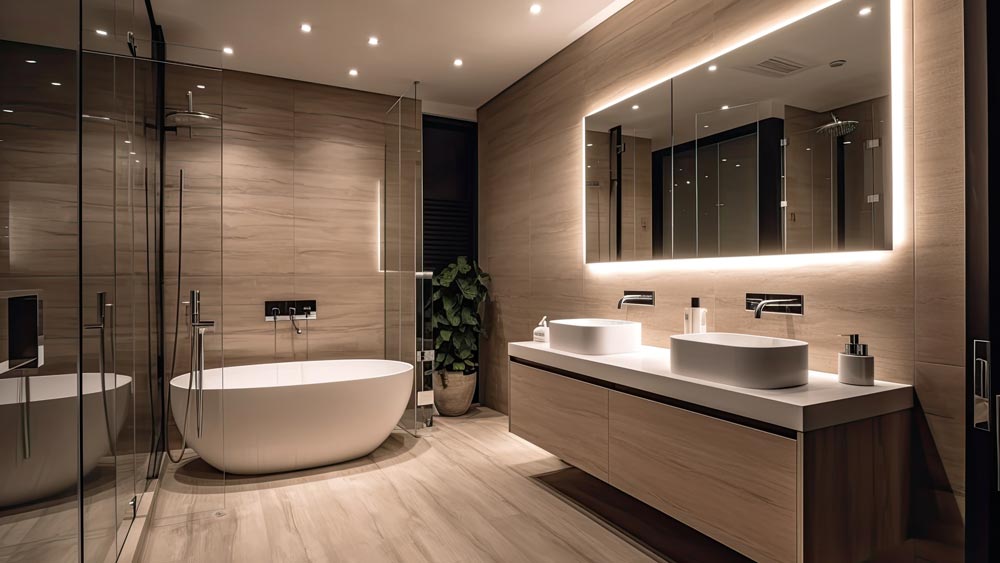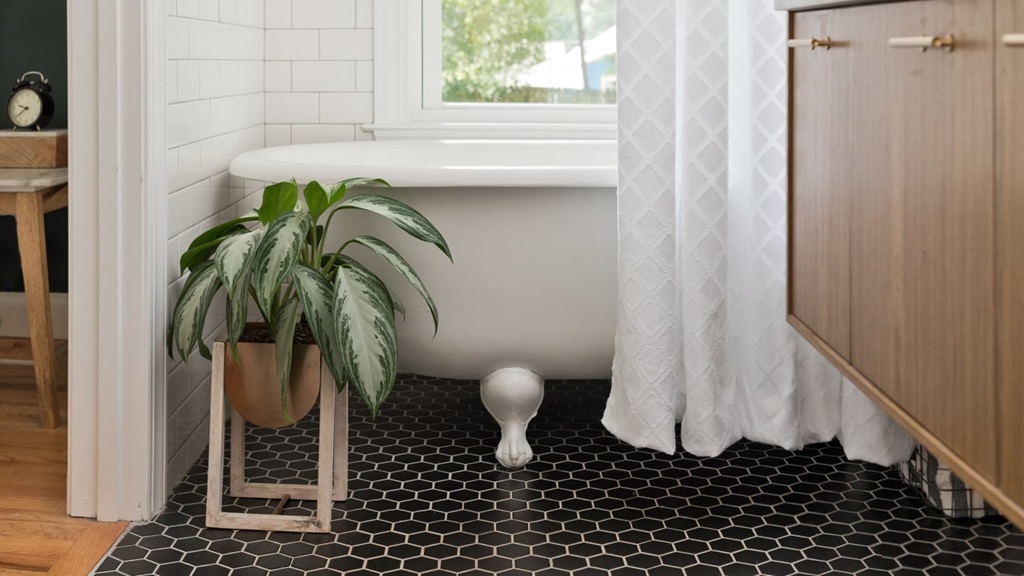

Freestanding baths exude luxury and make a stunning focal point in any bathroom. However, their very design – not attached to any wall – can lead to a bit of movement if not properly anchored. A wobbly tub isn’t just annoying; it can also damage your floor and plumbing. This guide will walk you through the steps and considerations to secure a freestanding bath.
Why Anchor Your Freestanding Bath?
- Safety: The primary concern is safety. A shifting bath can cause slips and falls, especially when getting in or out.
- Plumbing Protection: Movement can stress or even damage the pipes connected to your bath, leading to leaks and costly repairs.
- Floor Preservation: A sliding tub can scratch and mar your floor, especially if it’s a delicate material like hardwood or vinyl.
- Peace of Mind: Knowing your bath is secure lets you relax and enjoy your luxurious soak without worry. If you’re looking to enhance your bathroom even further, consider some shower upgrade ideas for a truly spa-like experience.
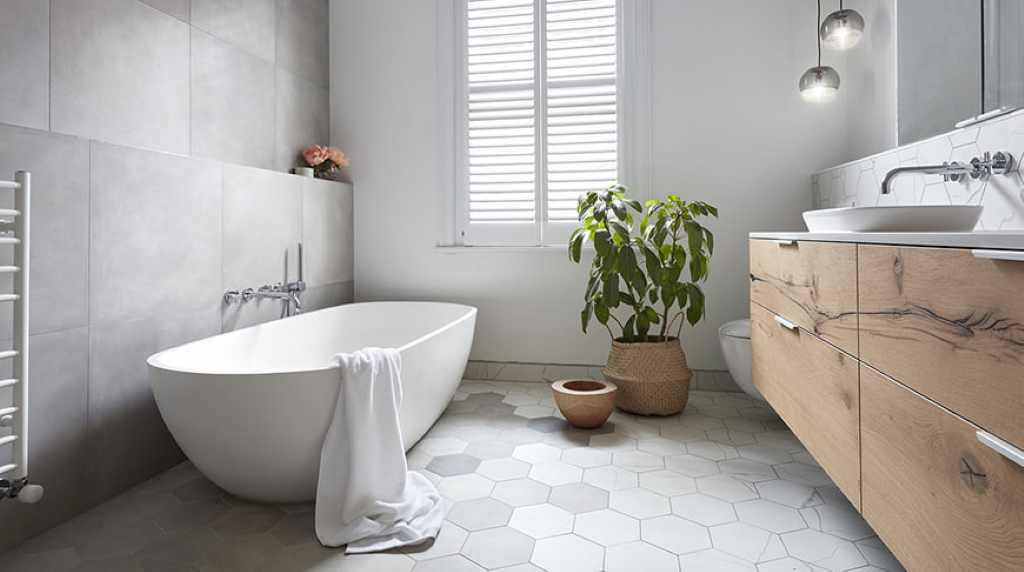
Methods for Anchoring a Freestanding Bath
The best anchoring method will depend on the type of bath you have, the material of your floor, and your comfort level with DIY projects. Here are the most common options:
- Silicone Adhesive
- Best for: Baths with a flat base and floors that can be safely sealed (tile, concrete).
- How it works: A bead of 100% silicone sealant (not caulk) is applied around the base of the bath where it meets the floor. Once cured, the silicone creates a strong, water-resistant bond.
- Pros: Relatively easy, affordable, and effective.
- Cons: Permanent solution, can be messy to apply, may void some warranties if not done by a professional.
- Construction Adhesive
- Best for: Heavier baths, floors that may not adhere well to silicone (natural stone).
- How it works: Similar to silicone, but construction adhesive is stronger and can handle more weight.
- Pros: Very strong bond, suitable for various materials.
- Cons: Even more permanent than silicone, trickier to apply neatly.
- Mounting Brackets
- Best for: Baths with pre-drilled holes for mounting or those with a lip that allows for discreet bracket placement.
- How it works: Brackets are screwed into the floor and then attached to the bath.
- Pros: Very secure, may be adjustable, can be hidden from view.
- Cons: Requires some DIY skills, may not be suitable for all baths or floors.
- Weight Distribution
- Best for: Baths on uneven floors or those where other methods aren’t feasible.
- How it works: Weight is added to the base of the bath, often with sandbags or similar, to help stabilize it.
- Pros: Non-invasive, can be adjusted as needed.
- Cons: Less aesthetically pleasing, not a permanent solution, may affect access to plumbing.
Step-by-Step Guide: Using Silicone Adhesive
- Prepare: Clean the floor and the base of the bath thoroughly. Dry completely.
- Measure: Determine where the bath will sit and lightly mark the perimeter.
- Apply: Using a caulking gun, apply a generous bead of silicone sealant around the marked area on the floor.
- Position: Carefully lower the bath onto the silicone, ensuring it’s centered and level.
- Cure: Allow the silicone to cure fully according to the manufacturer’s instructions (usually 24-48 hours).
Important Considerations
- Plumbing Access: If you need to access the plumbing under the bath, choose a method that allows for removal or adjustment.
- Warranty: Check your bath’s warranty before anchoring it, as some manufacturers may have restrictions.
- Professional Help: If you’re unsure or uncomfortable with DIY projects, it’s always best to consult a plumber or bathroom installer.
Additional Tips
- Leveling Feet: Many freestanding baths have adjustable feet to ensure stability on uneven floors. Use these before anchoring.
- Fill the Tub: Some professionals recommend filling the bath with water before applying the sealant to simulate the weight it will bear.
- Caulking the Base: To further prevent water damage and enhance stability, consider caulking the gap between the bath and the floor after anchoring.
Conclusion
Anchoring your freestanding bath is a crucial step in ensuring safety, protecting your investment, and enjoying the full luxury of your bathroom. By choosing the right method and following the proper steps, you can secure a freestanding bath and enjoy it for years to come.