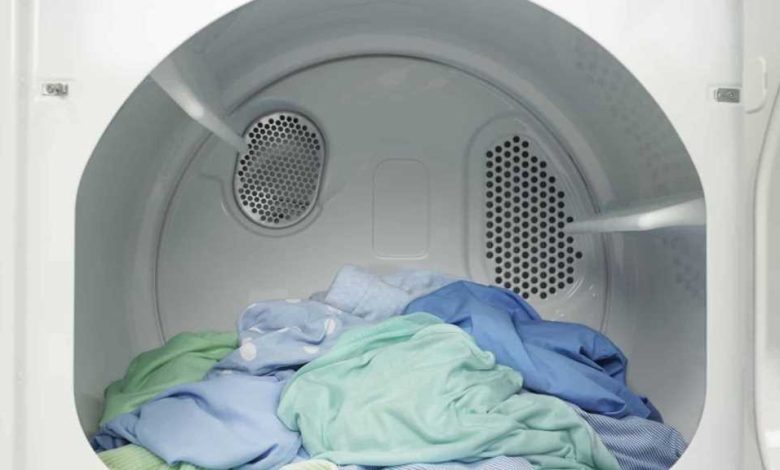
A dryer is meant to save you time and energy from line-drying clothes. Unfortunately, a malfunctioning dryer can be a major headache. Finding yourself with a load of wet clothes and a dryer drum that won’t heat up is frustrating, but it’s a relatively common problem that you might be able to troubleshoot and resolve yourself.
Essential Safety Precautions
Before you begin, remember electrical safety:
- Unplug your dryer: Never work on any appliance while it’s still connected to power.
- Discharge built-up energy: If your dryer has capacitors, they can hold electrical charge even when unplugged. Consult your owner’s manual or seek professional guidance to discharge these safely.
Understanding the Basics
An electric dryer uses a few key components to produce heat:
- Heating Element: This is the part that actually gets hot and warms the air.
- Thermostats: These sensors regulate temperature to prevent overheating.
- Thermal Fuse: A safety device designed to cut power if temperatures become unsafe.
Now, let’s dive into troubleshooting:
Step 1: Basic Checks
- Power: Is the dryer receiving electricity? Check circuit breakers and ensure the outlet is working.
- Settings: Did someone use a “no heat” or “air dry” setting by accident?
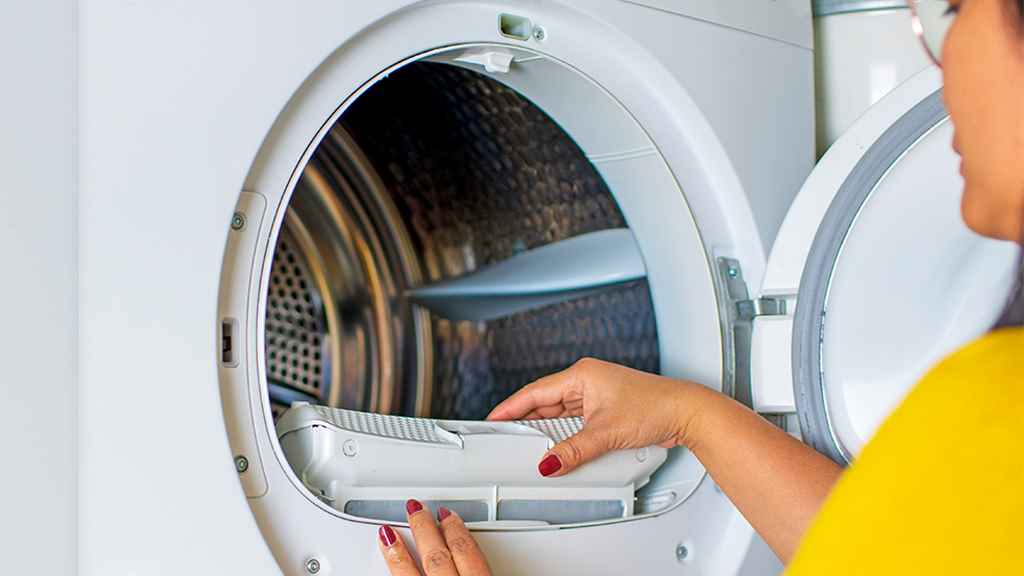
- Lint Trap: Excess lint buildup can hinder airflow and cause overheating, triggering safety mechanisms to shut off the heat. Clean the lint trap thoroughly.
- Venting: A clogged vent prevents hot air from escaping, leading to problems. Check your vent hose for kinks or blockages and clean the external vent opening.
Step 2: Deeper Diagnostics
If the basic checks don’t help, it’s time for a closer look:
- Test the Heating Element: Using a multimeter, check the heating element for continuity (an unbroken electrical path). If it tests faulty, it likely needs replacement.
- Inspect Thermostats: Similarly, use a multimeter to test your dryer’s thermostats for continuity. A failed thermostat can incorrectly signal that the dryer is overheating.
- Check the Thermal Fuse: This fuse is designed to blow if the dryer gets too hot. No continuity means a blown fuse, indicating an underlying overheating issue. Important: Just replacing the fuse won’t fix the problem if the root cause of overheating isn’t addressed.
Step 3: When to Call a Professional
Some problems are best left to professional repair services:
- Wiring and Complex Electrical Issues: If you’re not comfortable with electrical diagnostics, seek professional help.
- Gas Dryers: Gas dryers involve additional safety risks; always leave these to experts.
- Control Boards: Modern dryers often have computerized control boards; these require specialized tools and knowledge for diagnosis and repair.
Additional Considerations
- Dryer Model: Troubleshooting steps may vary slightly depending on your specific dryer. Consult your owner’s manual for guidance.
- Part Sourcing: Many dryer repair parts are readily available online and at appliance supply stores. Make sure you get the right parts compatible with your model.
- Warranty: Remember to check if your dryer is still under warranty, as this may cover repair costs.
Preventing Future Issues
Good dryer maintenance can minimize problems:
- Regular Lint Trap Cleaning: Always thoroughly clean the lint trap after each cycle.
- Vent Maintenance: Inspect and clean your dryer vent at least once a year. Consider professional vent cleaning if your setup is particularly complex.
- Avoid Overloading: Overloading prevents proper airflow and can strain the dryer.
In Summary
By following these steps, you may be able to fix your non-heating dryer. Remember: safety first, prioritize the simple checks, and don’t hesitate to call in a technician when needed. With a little investigation and effort, you’ll have your dryer back in working order!

