You’ve just bought a beautiful glass tank, or maybe your current one has sprung a leak. Either way, you’re staring at a gap that needs sealing, and you’re wondering if you can fix it yourself. The problem is using the wrong product or technique can turn a simple repair into a catastrophic failure. This guide will teach you exactly how to choose and apply the right silicone sealant for aquarium tank projects, ensuring a watertight, long-lasting result that keeps your fish safe.
What Makes a Silicone Sealant Safe for an Aquarium?
Not all silicone is created equal. The key difference between a standard bathroom sealant and an aquarium-grade product lies in the additives. Many household silicones contain mold inhibitors and fungicides that are toxic to aquatic life. Aquarium-safe silicone is 100% pure silicone without these chemicals, curing to form a non-toxic, flexible bond that can withstand constant water pressure.
The Danger of Mold Inhibitors
Standard silicones often include biocides to prevent mildew. In an aquarium, these chemicals leach into the water, poisoning fish, invertebrates, and plants. Always check the label for “mold-free” or “anti-fungal” warnings—these are red flags. Aquarium-specific silicones are clearly labeled as safe for fish.
The Importance of 100% Silicone
Look for silicone that states “100% silicone” or “pure silicone.” It should be clear, neutral-curing (non-acidic), and free of any solvents. Acid-cure silicones smell strongly of vinegar and can alter your tank’s pH during the curing process.
Reading the Label Correctly
Manufacturers like GE, DAP, and Aqueon produce aquarium-safe options. The label must explicitly say “aquarium safe” or “safe for fish.” If there’s any doubt, do not use it. A single bad seal could cost you your entire ecosystem.
How to Prepare Your Tank Surface for Silicone Application
Good adhesion depends entirely on surface preparation. Silicone will not stick to a dirty, oily, or damp surface. You must clean the glass or acrylic thoroughly, remove all old silicone residue, and ensure the area is bone-dry before you apply the new sealant. Skipping this step guarantees failure.
Tools You Will Need
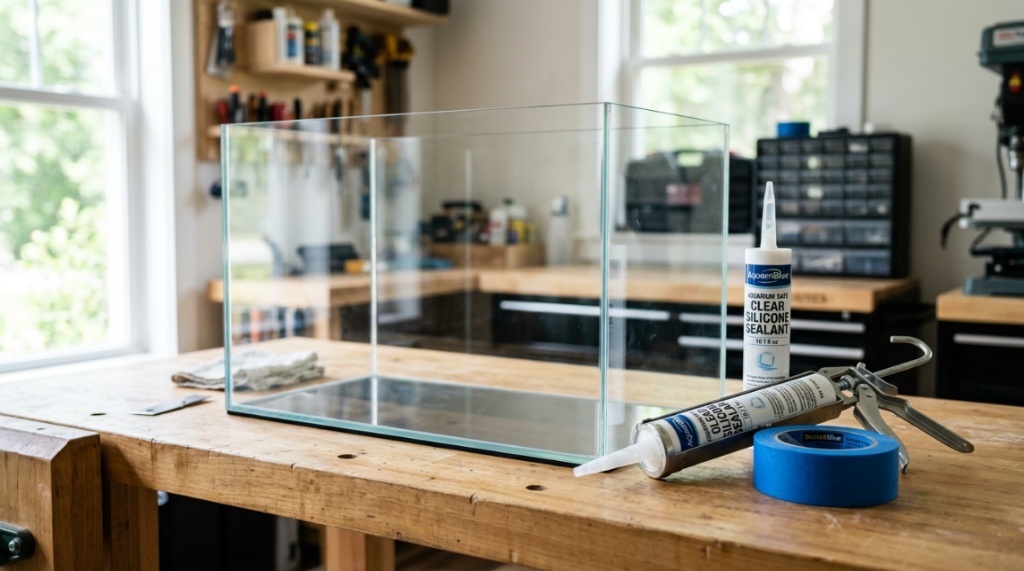
- Single-edge razor blade or scraper
- Isopropyl alcohol (91% or higher)
- Lint-free cloths or paper towels
- Painter’s tape (optional, for neat edges)
- 100% silicone sealant and a caulking gun
Removing Old Silicone Completely
Use a razor blade held at a 45-degree angle to scrape away every trace of old silicone. For stubborn bits, soften them with a heat gun (low setting) or vinegar soak. Any remaining silicone creates a weak bond. After scraping, wipe the surface with alcohol to remove oils and dust.
Ensuring a Bone-Dry Surface
After cleaning, wait at least 30 minutes. Even a thin film of moisture will prevent the silicone from curing properly. To test, press a piece of plastic wrap against the glass—if it sticks, the surface is still damp. Dry it again and wait.
Which Type of Silicone Should You Use for Repairs vs. New Builds?
For a new tank build or a full reseal, use a high-viscosity silicone that fills gaps and holds structure. For a small emergency patch, a low-viscosity, fast-curing silicone works better. Your choice depends on the size of the gap and the pressure it must endure. A thick bead is best for seams; a thin layer works for crack repairs.
Choosing Viscosity for Your Task
| Task | Recommended Viscosity | Best Use Case |
|---|---|---|
| New tank assembly | High (thick paste) | Filling large gaps between glass panels |
| Corner seam repair | Medium | Reapplying new seal over old silicone |
| Crack or pinhole fix | Low (flowable) | Seeping into small cracks under pressure |
Color Considerations
Clear silicone is the most forgiving for beginners, as it blends with any glass color. Black silicone provides a cleaner, more professional look for rimless tanks but shows imperfections in the bead. White silicone is usually best for framed tanks with white plastic trim.
How to Apply Silicone Sealant in a Perfect Bead
Cut the nozzle of your silicone tube at a 45-degree angle, making the opening slightly smaller than your desired bead width. Insert the tube into a caulking gun. Apply steady, even pressure while moving the nozzle along the seam in one smooth motion. A consistent bead is the foundation of a watertight seal.
Step-by-Step Application Process
- Load the caulking gun: Insert the tube and squeeze the trigger until silicone just emerges from the tip.
- Position the nozzle: Place the tip at the corner of the seam, touching the glass.
- Pull, don’t push: Move the nozzle along the seam, letting the silicone push out behind it. This prevents air bubbles.
- Keep a steady speed: Move at about 1 inch per second. Too fast creates thin spots; too slow creates lumps.
- Release pressure before stopping: Ease off the trigger while still moving to avoid a blob at the end.
Tooling the Bead for a Smooth Finish
Immediately after applying, use a wet finger or a plastic tooling tool to press the silicone into the seam. Dip your finger in soapy water (a tiny drop of dish soap in a cup of water) to prevent sticking. Work the silicone into a smooth, concave shape. Remove any excess with a paper towel before it skins over.
How Long Should You Let Silicone Cure Before Adding Water?
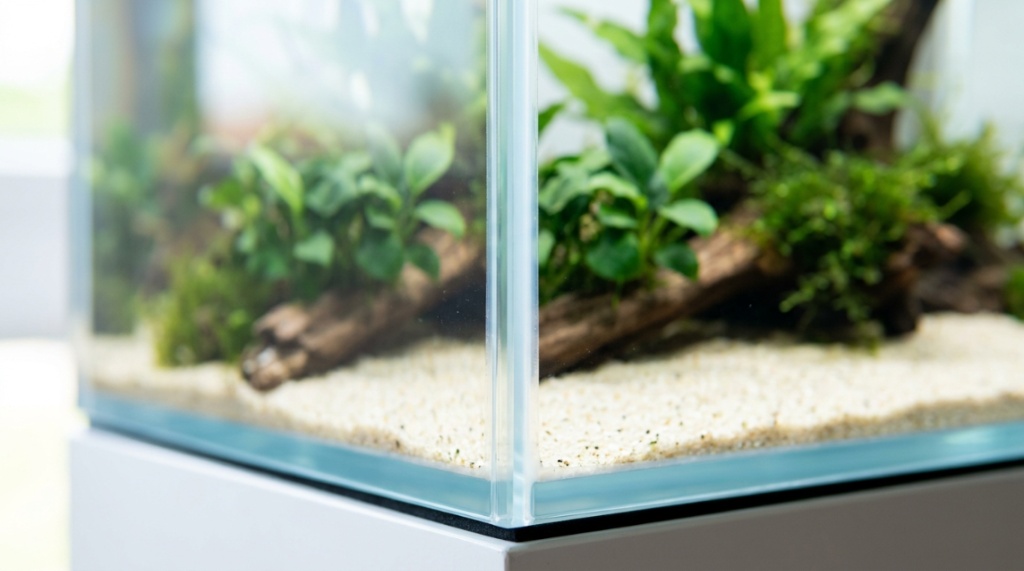
Curing time is critical. While most silicones set in 24 hours, a full structural cure takes 48 to 72 hours. Adding water too early causes the silicone to soften, lose adhesion, and potentially fail. For large tanks or high-stress seams, wait the full 72 hours to ensure maximum strength.
The Chemistry of Curing
Silicone cures by reacting with moisture in the air, not the glass. This process starts from the surface and moves inward. A thick bead cures slower than a thin one. Humidity accelerates the process, while dry air slows it down. Aim for 50-60% humidity for the best results.
Testing the Cure
Before filling the tank, press your fingernail gently into the silicone. It should feel firm, rubbery, and not stick to your nail. If it leaves an imprint or feels sticky, give it another 12 hours. Once cured, it should be flexible but not tacky,Once the silicone has fully cured for at least 48 hours and you have successfully completed a leak test, your tank is ready for landscaping. Before adding water, lay down a high-quality base like Aquarium Sand for Freshwater Tanks and Aquascaping to give your aquatic plants a solid foundation to grow.
Can You Use Silicone on Acrylic Tanks?
Yes, but with caution. Standard silicone adheres well to glass but poorly to acrylic. For acrylic tanks, you must use a silicone specifically formulated for plastics or an acrylic-compatible sealant. Using standard silicone on acrylic may result in immediate adhesion failure or a bond that peels away over time.
Why Standard Silicone Fails on Acrylic
Acrylic (Plexiglas) is a non-porous, smooth surface. Silicone relies on mechanical adhesion, which requires some surface texture. Acrylic also expands and contracts with temperature changes more than glass, putting extra stress on the bond. A specialized plastic-compatible silicone or a methyl methacrylate adhesive is a better choice.
Surface Preparation for Acrylic
If you must use silicone, sand the area lightly with 400-grit sandpaper to create a microscopic texture. Clean it thoroughly with alcohol. Apply the silicone and allow extra curing time. Even then, the bond will not be as strong as on glass.
What Are the Most Common Mistakes When Applying Silicone?
Beginners often apply too much silicone, work on a wet surface, or fail to remove old sealant completely. Another common error is touching the bead while it’s curing, which introduces dirt or oils. Avoiding these mistakes increases your repair success rate from 30% to over 90%.
Mistake 1: Using the Wrong Silicone
Using bathroom or kitchen sealant is the most expensive mistake. It costs more in poisoned fish and ruined tanks than any savings on the sealant itself. Always verify the label says “aquarium safe.” When in doubt, go with a trusted brand like Aqueon or Marineland.
Mistake 2: Rushing the Cure
Impatience is a close second. Many hobbyists fill the tank after 12 hours and find a leak the next day. Curing is a chemical process; you cannot rush it. Mark your calendar for 72 hours and wait.
Mistake 3: Poor Nozzle Cutting
Cutting the nozzle too large creates a mess. Cut it conservatively—you can always cut a bigger hole, but you can’t make it smaller. For most seams, a 1/8-inch opening is adequate.
How to Fix a Leaky Silicone Repair Without Replacing Everything
If a small area is leaking, you don’t always need to tear out the entire seam. You can patch it by cleaning the leak spot, drying it thoroughly, and applying a small dab of silicone over the leak. For pinhole leaks, a dab from the outside often works. For larger gaps, you may need to scrape out a section and reapply.
Spot Patching Technique
Use a razor blade to clean a 1-inch area around the leak. Dry it with a hair dryer on low heat. Apply a small dollop of silicone and spread it thin with a wet finger. Allow it to cure for 48 hours before testing.
When to Do a Full Reseal
If leaks are recurring or if the silicone is peeling away from the glass, a full reseal is safer. A patch job on a large area is unreliable. For tanks over 20 gallons, a complete reseal is usually the best investment for peace of mind.
For a more in-depth overview of the best products available, check out this guide on the best silicone sealant for aquarium tank applications, which covers both silicone and specialized aquarium glues.
When Should You Use Glue Instead of Silicone?
Cyanoacrylate glues (super glues) are excellent for small repairs, attaching corals, or fixing small plastic parts. They bond almost instantly and are completely non-toxic once cured. However, they become brittle and cannot handle the pressure of a large seam. Use glue for tiny jobs and silicone for structural sealing.
Pros and Cons of Silicone vs. Cyanoacrylate
| Feature | Silicone Sealant | Cyanoacrylate Glue |
|---|---|---|
| Strength | High, flexible | High, but brittle |
| Cure time | 24-72 hours | 30 seconds |
| Best for | Seams, large repairs | Small parts, coral |
| Water resistance | Excellent | Good (once cured) |
| Flexibility | Very flexible | Rigid |
When to Choose One Over the Other
If you are attaching a filter intake or a glass baffle, use silicone. If you are gluing a small piece of cracked plastic or attaching a coral frag to a rock, use cyanoacrylate. Using the right tool prevents frustration and equipment failure.
Frequently Asked Questions
Can I use standard bathroom silicone for my fish tank?
No. Bathroom silicone contains mold inhibitors and fungicides that are toxic to fish, plants, and invertebrates. Only 100% pure silicone labeled as “aquarium safe” should be used inside or near your tank.
How soon can I put fish back in after resealing?
Wait at least 72 hours after the last application of silicone. After that, fill the tank and run the filter for 24 hours to check for leaks. Only then should you add water conditioners and slowly reintroduce fish.
Will silicone stick to wet glass?
No. Silicone will not properly adhere to damp or wet glass. The surface must be completely dry for the silicone to bond. Use alcohol to clean and a hair dryer to ensure the area is bone-dry before application.
How do I remove silicone from my hands?
Use rubbing alcohol or vinegar to soften the silicone, then rub your hands together. Avoid pulling it off, as that can hurt. Regular hand washing will remove residues over a few hours.
Can I paint over silicone sealant?
Most standard paints do not stick well to silicone. If you need to match the color, look for a silicone-compatible paint or use a black or clear silicone to begin with. Painting is rarely necessary for aquarium work.
Is silicone safe for all aquarium inhabitants?
Yes, if you use 100% aquarium-safe silicone. Once fully cured (72 hours), it is inert and non-toxic to fish, shrimp, snails, and plants. Always verify the label to ensure no harmful additives are present.
Conclusion
Applying silicone sealant to your tank is a straightforward process when you follow the right steps. Use only 100% aquarium-safe silicone, prepare the surface meticulously, apply a steady bead, and give it the full 72 hours to cure. These three fundamentals separate a successful repair from a disaster. Whether you are building a new tank or fixing a leak, the key is patience and precision. Your fish depend on that seal holding for years. So take your time, do it right, and enjoy the peace of mind that comes with a watertight, safe aquarium. If you are still unsure which product to pick, the linked resource above can help you find the perfect silicone sealant for an aquarium tank for your specific project.