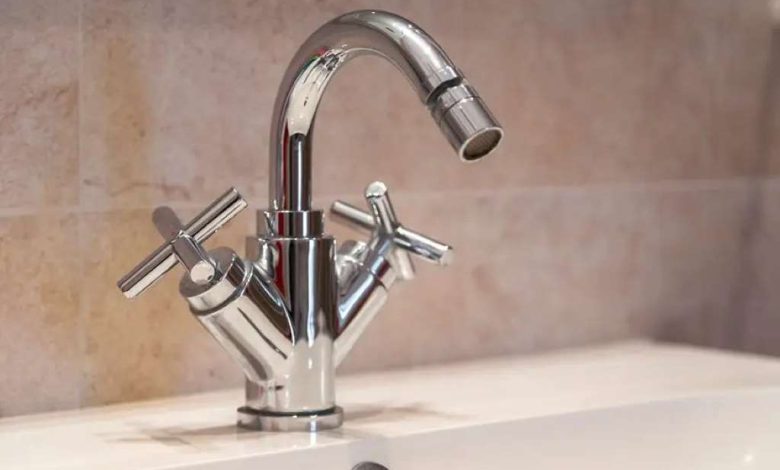
That rhythmic drip, drip, drip… a leaky bathtub faucet is more than just an annoyance. It constantly reminds you of wasted water, higher water bills, and the potential for water damage. Thankfully, stopping that annoying drip is often a straightforward DIY fix, saving you money on a plumber.
Before reaching for the toolbox, let’s understand what’s happening behind the wall and how to pinpoint the culprit.
What Causes a Dripping Faucet?
Several components within your faucet can wear down and lead to leaks. Common causes include:
- Worn-out Washer: These rubber washers are located at the base of the faucet stem and seal against the faucet seat. Over time they harden, crack, or disintegrate, allowing water to seep through.
- Corroded Valve Seat: The valve seat is the metal ring where the washer creates a seal. Mineral buildup and corrosion can wear away the seat, preventing a watertight connection.
- Damaged O-rings: O-rings are small, rubber rings used in cartridge-style faucets. They seal openings and prevent water from leaking around the cartridge.
- Loose Packing Nut: In some compression faucets, a packing nut helps secure the stem. If it loosens, water can leak from around the handle.
- Faulty Cartridge: Cartridge faucets have a single, cylindrical cartridge controlling water flow. Worn-out seals or internal damage can cause leaks.
Tools and Supplies You’ll Likely Need
- Screwdrivers (Flathead and Phillips)
- Adjustable wrench
- Pliers
- Allen wrench (hex key)
- Penetrating oil (for stubborn screws or parts)
- Plumber’s grease
- Replacement parts (washers, O-rings, valve seat, cartridge)
- Seat wrench (optional, but helpful)
- Cloth or towel
Step-by-Step Guide to Fixing a Dripping Faucet
1. Preparation is Key
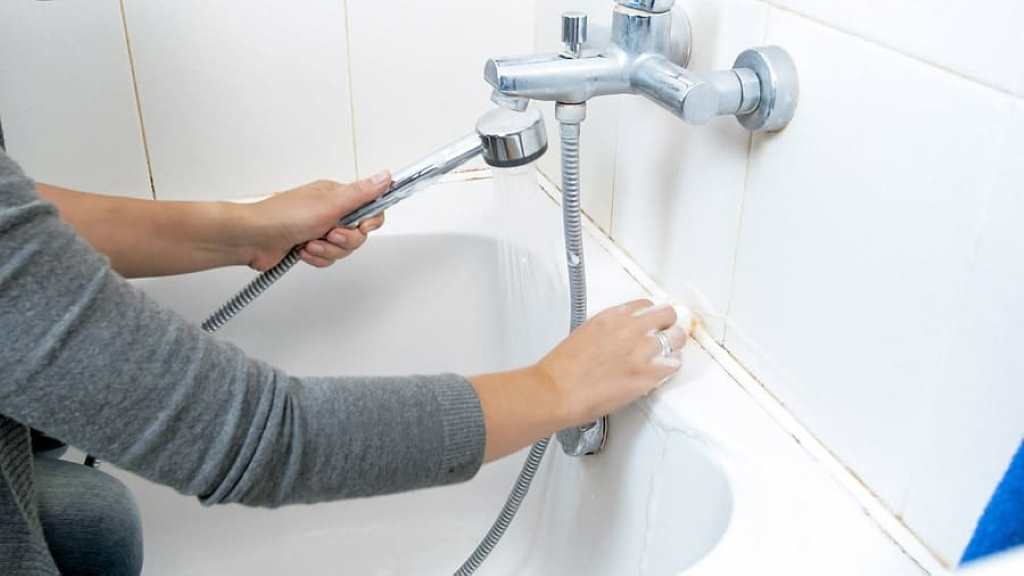
- Turn Off the Water: Find the shut-off valve for your bathroom, usually under the sink or in the basement. Turn it clockwise to stop water flow to the faucet.
- Drain the Remaining Water: Open the faucet to drain any excess water trapped in the pipes.
- Protect Your Work Area: Place a cloth or towel in the bathtub to prevent dropped parts from damaging the surface.
2. Identify Your Faucet Type
- Compression Faucet: Two handles (hot and cold) control water flow separately.
- Cartridge Faucet: A single lever controls both temperature and flow.
- Ball Faucet: Features a single handle with a rotating ball joint inside.
3. Disassemble the Faucet
- Note: Take photos or notes as you disassemble – it’ll make reassembly much easier!
Compression Faucet:
- Remove the handle’s decorative cap to reveal a screw. Remove the screw and gently pull the handle off.
- Use an adjustable wrench to loosen and remove the packing nut.
- Unscrew the stem, revealing the washer.
Cartridge Faucet:
- Remove the handle screw and handle.
- Remove the decorative trim plate.
- Use a cartridge puller or pliers to remove the cartridge.
4. Replace Faulty Parts
- Worn Washer: Replace with a new washer matching the old one in size. Apply a thin layer of plumber’s grease to the new washer.
- Corroded Valve Seat: Use a seat wrench to remove the old seat. Install a new one, applying plumber’s grease to the threads before insertion.
- Damaged O-rings: Carefully replace them with matching new ones.
- Loose Packing Nut Snuggly tighten the packing nut.
- Faulty Cartridge: Replace the entire cartridge with an exact match to the original.
5. Reassemble and Test
- Carefully reassemble the faucet, reversing the disassembly steps.
- Turn on the water supply and open the faucet slightly. Check for leaks.
- If the leak persists, recheck your work or consider calling a plumber for more complex issues.
Additional Tips and Considerations
- Identifying Replacement Parts: If unsure about replacements, take the old part to a hardware store for help finding a match. Some manufacturers offer a lifetime warranty on their parts.
- Stubborn Parts: If components are stuck, apply penetrating oil to loosen them.
- Preventive Maintenance: Regularly replacing washers is an inexpensive way to extend the lifespan of your faucets.
You’ve Got This! By following these steps and understanding the concepts, you’ll put an end to that annoying drip, save water, and avoid costly repairs.